Filter and sort
17 products

-
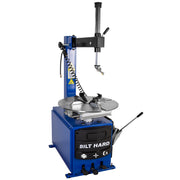
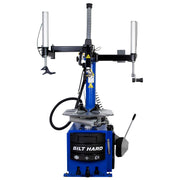 BILT HARD 2 HP Swing Arm Tire Changer with Double Assist Arms & Bead Blaster$1,599.99
$1,999.99/ Save $400 -
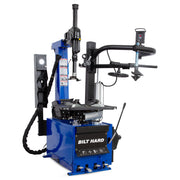 BILT HARD 1.5HP 110V Tilt-Back Tire Changer with Assist Arm & Bead Blaster, for 12–26 in Rims$2,499.99
$3,099.99/ Save $600 -
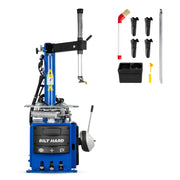 BILT HARD 110V Large-Capacity Tire Changer, 12–26" with Bead Blaster$1,599.99
$1,999.99/ Save $400 -
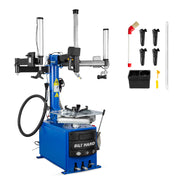


Tire Changer & Wheel Balancer Combo

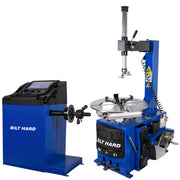
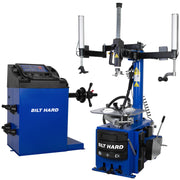


BILT HARD 110V Large-Capacity Tire Changer & Wheel Balancer Combo with Bead Blaster
$2,399.99
$2,999.99
/
Save $600


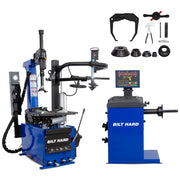
BILT HARD Advanced 110V Tire Changer & Wheel Balancer Combo with Assist Arm, Bead Blaster, Auto Measure & Laser Guide
$3,399.99
$4,299.99
/
Save $900
FAQs
The best tool for changing tires is a powered tire changer, especially if you service tires regularly. It removes and installs tires faster than manual tools and helps reduce the chance of wheel damage.
For a complete setup, pair the tire machine with a wheel balancer to correct wheel imbalance after installation and reduce vibration during driving.
No, changing tires yourself is not difficult with the right equipment. A tire changer setup is recommended for DIY tire work. A tire changer helps remove and install tires, while a wheel balancer helps achieve proper balance after mounting, making the process safer and more efficient.
For handling more complete vehicle maintenance, adding a car lift can also provide easier access for wheel removal, brake work, suspension service, and other under-vehicle repairs.
A tire changer machine typically costs about $1,000 to $10,000+ in the U.S. The price mainly depends on wheel capacity, automation, assist features, and build quality.
- Basic machines may start around $1,000–$3,500.
- Mid-range shop models often cost $3,500–$7,000.
- Advanced commercial machines with assist arms or greater automation can exceed $7,000–$10,000.
Owning a tire machine can provide several practical benefits:
- Save on mounting costs: Reduce repeated shop labor charges.
- Work on your schedule: Change tires without booking a service appointment.
- Speed up tire service: A powered machine makes removal and installation faster than manual methods.
- Reduce physical effort: Bead breakers and mounting tools handle much of the heavy work.
- Handle seasonal tire changes: Useful when switching between summer and winter tires.
- Add a shop service: Repair shops can perform tire mounting in-house instead of outsourcing it.
For a standard passenger tire using a tire mounting machine, follow this basic workflow:
- Fully deflate the tire and remove the valve core.
- Break the bead away from both sides of the rim.
- Clamp the wheel securely on the tire machine.
- Lubricate the tire bead to reduce friction and rim damage.
- Remove the old tire using the mount/demount head.
- Mount the new tire, keeping the bead correctly positioned in the rim’s drop center.
- Inflate and seat the beads following the tire and machine manufacturer’s safety instructions.
- Set the final pressure to the vehicle placard specification and check for leaks.
Blogs
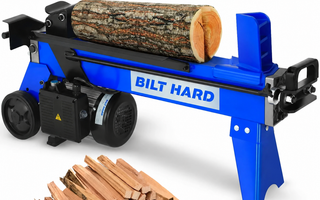
Burning Wood Safely: Best Firewood, Moisture, and Clean Burning
The safest, cleanest wood fire starts with untreated local firewood at 15% to 20% moisture, split to a practical size,...
Putting in a Log Burner: Difficulties, Rules and Installation Steps
Putting in a log burner is practical in many homes, but it is safe and compliant only when the stove,...
How to Start a Fire in a Fireplace Safely and Keep Smoke Out
The safest way to start a fire in a fireplace is to open the damper, confirm an upward draft, and...
Firewood BTU Chart: Heat Output by Wood Type
Seasoned hickory, oak, and maple deliver more heat per cord than lighter woods such as pine, so the species you...