Filter and sort
17 products


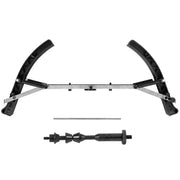
Tire Changer & Wheel Balancer Combo

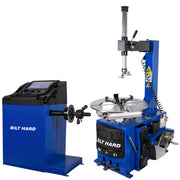
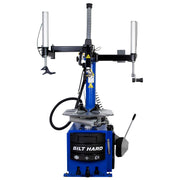
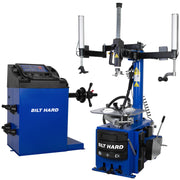


BILT HARD 110V Large-Capacity Tire Changer & Wheel Balancer Combo with Bead Blaster
 $2,399.99
$2,999.99
/
Save $600


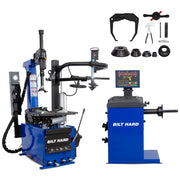
BILT HARD Advanced 110V Tire Changer & Wheel Balancer Combo with Assist Arm, Bead Blaster, Auto Measure & Laser Guide
$3,399.99
$4,299.99
/
Save $900
FAQs
The best tool for changing tires is a powered tire changer, especially if you service tires regularly. It removes and installs tires faster than manual tools and helps reduce the chance of wheel damage.
For a complete setup, pair the tire machine with a wheel balancer to correct wheel imbalance after installation and reduce vibration during driving.
No, changing tires yourself is not difficult with the right equipment. A tire changer setup is recommended for DIY tire work. A tire changer helps remove and install tires, while a wheel balancer helps achieve proper balance after mounting, making the process safer and more efficient.
For handling more complete vehicle maintenance, adding a car lift can also provide easier access for wheel removal, brake work, suspension service, and other under-vehicle repairs.
A tire changer machine typically costs about $1,000 to $10,000+ in the U.S. The price mainly depends on wheel capacity, automation, assist features, and build quality.
- Basic machines may start around $1,000–$3,500.
- Mid-range shop models often cost $3,500–$7,000.
- Advanced commercial machines with assist arms or greater automation can exceed $7,000–$10,000.
Owning a tire machine can provide several practical benefits:
- Save on mounting costs: Reduce repeated shop labor charges.
- Work on your schedule: Change tires without booking a service appointment.
- Speed up tire service: A powered machine makes removal and installation faster than manual methods.
- Reduce physical effort: Bead breakers and mounting tools handle much of the heavy work.
- Handle seasonal tire changes: Useful when switching between summer and winter tires.
- Add a shop service: Repair shops can perform tire mounting in-house instead of outsourcing it.
For a standard passenger tire using a tire mounting machine, follow this basic workflow:
- Fully deflate the tire and remove the valve core.
- Break the bead away from both sides of the rim.
- Clamp the wheel securely on the tire machine.
- Lubricate the tire bead to reduce friction and rim damage.
- Remove the old tire using the mount/demount head.
- Mount the new tire, keeping the bead correctly positioned in the rim’s drop center.
- Inflate and seat the beads following the tire and machine manufacturer’s safety instructions.
- Set the final pressure to the vehicle placard specification and check for leaks.
Blogs
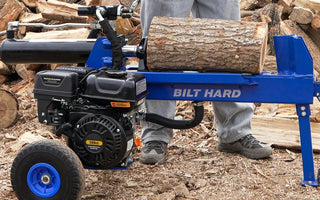
How to Start a Log Splitter Safely Step by Step
The safest way to start a log splitter is to inspect it on level ground, place the hydraulic control in...
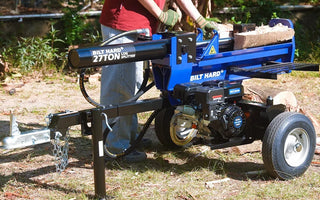
What Type of Hydraulic Oil for Log Splitter Is Efficient?
The common hydraulic oil types include AW32, AW46, Dexron III ATF, and Synthetic hydraulic oil. Use the hydraulic fluid grade...
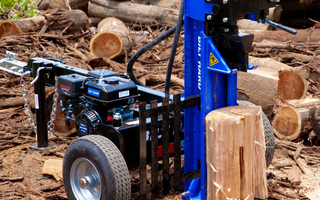
What Is the Standard Length of Firewood?
The average length of firewood is about 16 inches. This size fits many residential wood stoves and fireplaces, but the...
How to Dry Wood Without Splitting?
To dry wood without splitting, slow and equalize moisture loss by sealing fresh end grain, raising the wood off the...